Quick start
Welcome to the DBus World documentation. I'll try to explain to you what DBus World actually is, how it works and what you need for it. You will also learn here how to prepare your own lines or what benefits the patreon account adds.
What is DBus World?
This is a big project for Euro Truck Simulator 2, which adds bus transport functionality. Its using ingame UI to show the player which stop to reach at what time and the timetable. After finishing your drive, the entire drive will be sent to the DBus World website where the player will be able to view all the data about his drive.
On the web, players can merge into Virtual Transport Companies, where players can compete with each other, share, for example, company repaints or track their movement on an online map. We are planning to add some revenue functionality in future.
How does it work?
Preparation
In the beginning, you need to register on the website, which requires a Steam account with a public game library. After registration and login, the player gets to the Main Page. Here you need to download the latest version of DBus World Client in the right part of the page, then install and run it.
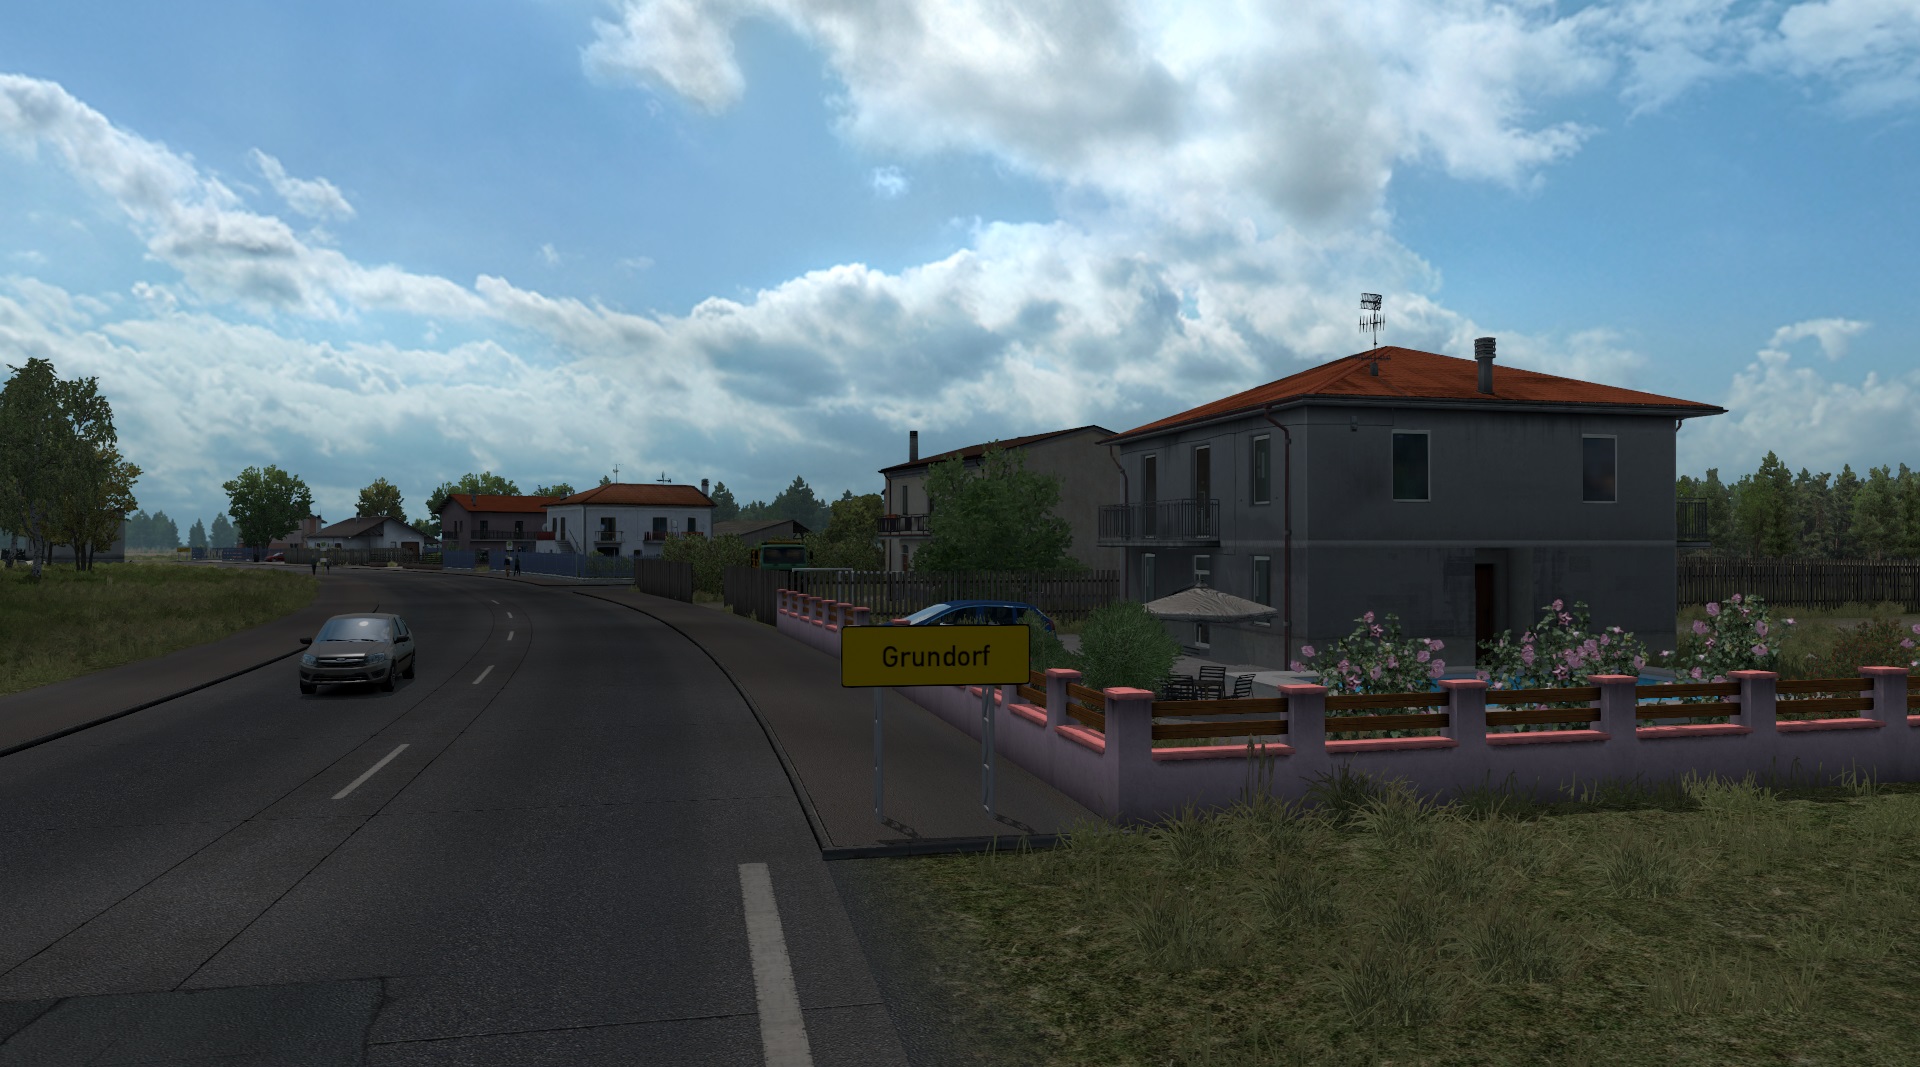
The Client offers our basic modifications for quick play. This is a combination of a Grundorf map with a Solaris Urbino 12 and a pre-prepared profile. We recommend to start with this combination to learn basics.
For the future, it is advisable to have a game profile ready with some bus mod that the player will have purchased so that he can travel freely around the world and use our Client. Our bus mods can be found on Steam Workshop or in Our Mods section
Usage
After starting the application, a login window will appear where the player logs in with the DBus account. Then he can choose the map and the line he wants to go. Basically, the Client has several basic lines ready to go.
After starting the line, the player can turn on ETS2, choose a profile in the game (ideally the one with the purchased bus) and enter the game.
It is now possible to activate the DBus World UI using keyboard shortcuts. By default, the Home keyboard shortcut (check your Settings in DBus Client) is used to activate the UI. After pressing it, a window should appear informing you of the next stop and arrival time. The indicated time is always linked to the game time.
Now it's up to the player to get to the stop where his line starts.
If the player has to stop at the bus station, the place to stop is always at stop no.3.
When the player stops at the bus stop, it is necessary to press the button to open the door. This is basically set to Y. The UI should suddenly switch to show the player how many passengers are boarding, how many are getting off and how late the player is. Press X to close the door and switch the UI back to normal.
After the player closes the door at the final station, the drive data is automatically sent to the DBus World website.
To start the new line, use ALT-TAB to switch to the DBus World application and select a new line from the list.
How does it work with custom mod/profile etc.?
Profile on base map
Basically, it works similar to our Grundorf profile. You only need to do few things to have it working:
- Add some bus model into your game profile in mod manager in game.
- Go to settings and check your key shortcuts for opening windows. Why? Because we binded animation for opening bus doors to open windows shortcut. We are using left window for front doors and right window for back doors. It's best to bind front doors to same shortcuts like you have in Client settings.
- Go to Modded dealer in game and buy some bus and jump into it.
- ALT-TAB to Client, select line, start it, ALT-TAB into game and you can start.
Where to go?
- Enable the developer console if you haven't already -> Check it here
- Open up Documents\DBus Client\lines and the appropriate file
- Search for the line you want to take
- Copy the coordinates of the last stop, in case of Odense: 1538.59;13.2815;-26533.7;1.59136;6.19888e-06, it's the string of numbers between the stop name (Odense) and the time needed to reach the next stop (0)
- Open up the game and make sure you are in your bus
- Open up the console and type in goto 1538.59;13.2815;-26533.7;1.59136;6.19888e-06 and hit Enter
- Close the console and see if you can safely spawn your bus there, if not move your camera with numpad
- Hit CTRL+F9, this will teleport the bus to your camera location
- Mark your position on your map
- Move to the stop above and repeat the process, you don't need to mark the very first stop, as navigation calculates the route from your position
- You can only mark 10 waypoints on your map, this is a limitation imposed by ETS2, nothing we can do about it
How to use TruckersMP?
It's almost the same as in Single player. TruckersMP handles few things for you:
- You don't need to setup any bus mod, it's automatically added for everyone on TruckersMP.
- You don't need to setup key shortcuts for opening doors and changing Client UI. TruckersMP will setup that for you automatically, it's using Windows open/close ingame key and it shows you help UI window when you arrive to your first stop.
- You need to use TruckersMP Map file (first select box in Client).
- After you start your line and jump into game, you should hear voice information about next stop and your navigation should be properly set
- After you arrive to first stop, you will be able to see passengers with working animations.
Modding
DBus World supports a lot of modifications of every possible type. We support TruckersMP, different type of buses (custom bus mods could not support doors animations), skins, lines and maps.
Buses, skins
Their installation is the same as for any other Euro Truck Simulator 2 mod. These mods can be used without a premium account and it is up to you which ones you install. However, we cannot guarantee 100% functionality for custom mods.
Steam Workshop
The easiest way is to find the modification on Steam Workshop. DBus has several custom buses ready to go there. Installing them is very simple, just click on the Steam Workshop page of the modification and click on subscribe and Steam will download the modification and prepare it for the game. Finally, you need to activate it in the game in the Modifications Manager of the specific profile.
Downloading from the internet
For downloaded mods, you should always read the included instructions first. Generally speaking, mods in .scs or .zip format need to be copied to the Documents/Euro Truck Simulator 2/mod folder and then activated in the game in the Modification Manager.
Maps
The maps can only be installed by downloading them from the internet. Before installation, you should always read the enclosed instructions. Generally speaking, mods in .scs or .zip format need to be copied to the Documents/Euro Truck Simulator 2/mod folder and then activated in the game in the Modification Manager.
In order to ride the lines on the map, you need to look fot them on the internet or on the DBus website. You can also create your own lines. More information on the lines below.
Lines
In order to be able to drive the bus on different maps and have a working timetable, you need to have route files in the Client. These can be saved in Documents/DBus Client/lines
Creating your own line
Creating your own line is very simple. First you need to think about the route and find the stops where the player will stop. This can be done in the game using ingame map and a free camera. I recommend to prepare the line on the game map (M shortcut) as a navigation and take a picture, this is then good to add to the download page of the line.
Then you need to drive the line. Simply drive to the first stop (we always use stop number 3 at bus stations), look at the game time and press Shift + F11. Type the name of the line here - game time. In this way go through all the stops as the player would. Example: Prague - 16:30
Game creates file in Documents/Euro Truck Simulator 2/bugs.txt. Copy it to Documents/DBus Client/lines
Finally, you need to edit the file so that it is in the correct format:
| Grundorf | The name of this file. You can make up any name you want, I recommend mentioning the author and map name in it. |
|---|---|
| grundorf | This determines which online map on the site the player's bus will appear on. Possible maps (values): base, promods, truckersmp, utopia, grundorf, other |
| _ | It serves as a separator for each line in the file. |
| 76 | Line number that will be displayed in the Client |
| Nordspitze Bauernhof;-359.743;8.24964;520.188;0.146129;-0.163294;2 | Individual stops in the following format: Name; .. Coordinates .. ; Number of game minutes to reach the next stop |
		Grundorf
		grundorf
		_
		76
		Nordspitze Bauernhof;-359.743;8.24964;520.188;0.146129;-0.163294;2
		Nordspitze Bahnhof;-391.507;1.88569;200.679;0.776309;-0.163433;1
		Eisterplatz;-475.025;1.88649;-198.133;-1.71149;-0.215133;1
		Grundorf;-558.539;1.88686;-387.014;0.269418;-0.056165;1
		Einsteindorf Ausbau;-462.991;1.83985;-899.962;-2.72439;-0.249682;1
		Einsteindorf Marktplatz;-269.592;1.83869;-911.455;-1.49792;-0.0874048;1
		Einsteindorf Krakenhaus;-231.175;1.84004;-1005.91;0.0860393;-0.0872692;1
		_
		77
		Einsteindorf Krakenhaus;-269.564;1.83924;-1035.22;1.58576;-0.0872625;2
		Einsteindorf Ausbau;-431.839;1.84002;-950.075;2.22993;-0.0285434;1
		Grundorf;-565.81;1.88684;-387.913;2.48617;-0.0786279;1
		Eisterplatz;-483.262;1.88663;-196.43;1.44681;-0.220308;1
		Nordspitze Bahnhof;-465.911;1.88674;81.532;2.59516;-0.18057;1
		Nordspitze Bauernhof;-387.531;8.24979;526.122;1.67281;-0.336082;1
You can upload line to DBus website to Mods section for your colleagues.
Client
DBus Client is used to connect the DBus website with the game, display the UI, send rides to the website and other things.
Installation
Installation is very simple, just download the appropriate .zip file, unzip it and run the installer. Then just follow installer step by step. It is basically just an agreement with the conditions and the path where the Client should be installed and whether you want an icon on the desktop. I recommend leaving the path as the default. The client has a very small size, its entire component takes up approx. 3MB.
When launched, the Client displays a window for entering paths to the game and to the game documents folder. In most cases, it should detect these folders correctly, if not by chance, you can edit them manually or find them. Then just confirm and the main Client window should open.
Usage
The home screen is divided into three sections. The first is the left panel where we find a selection of the map / line. The list of lines is automatically updated whenever the map changes. Simultaneously with the change of the map and the line, the whole right panel showing the information about the line is updated. How long the drive takes (in game time), how many stops does it contain, etc. There is also a button to display the timetable. It is still in a simple form and future improvements are planned. To select a line, just click the Start button.
At the bottom are buttons for opening settings, help (which is actually this page), logout and change the language. It is not planned to add more languages yet.
After selecting the line and clicking on the start button, we will get to the screen with an overview of the line. There is all the basic info. You can start the game at this point. In the game, choose a profile, ideally one where you have a bus and a map for which you have chosen a line. If you don't have anything like that yet, I recommend jumping to the Client settings and clicking on the Basic content button and downloading the basic map (Grundorf), bus (Solaris) and profile.
After jumping into the game, you should be able to see UI. By default, changing UI is on the Home key. The UI has three states - basic information, schedule and hidden. Now you can drive or teleport your self to first stop. If it is a larger bus station, we always use stand number 3.
Ready for the first stop? Now you need to press the key to open the door (default Y). At that point, your UI should switch the screen and you should be able to view information about the number of boarding and alighting passengers. Then you can close the door, so you can press the key to close the door again (default X). The UI should switch the screen and you will see which stop to go to.
After reaching the final stop, just open and close the door as usual. The client should immediately send the dride to the website, where you can check it. You can now select a new line in the DBus Client application, click on start, jump back into the game and use the UI toggle button (Delete by default) to display the correct UI again.
Different versions of the game
DBus World should support older version of game, but I don't guarantee that. I'm always testing it on latest version.
HW Requirements
If you can run ETS2, you will run this application as well, the only requirement is for the system: OS: Windows 10. In theory, it should work on Windows 7/8 / 8.1, but I do not give any support for these systems. Otherwise, the application has about 3MB + of the necessary modifications to the game. It normally takes about 30MB of RAM.
QA
Client can't start, how can I fix it?
There can be many options. First I would check the antivirus, it may try to block the Client. There are several reasons, for example, for the UI switching to work, the Client monitors your keystrokes while playing the game and responds to them. At the same time, it constantly sends map data to our servers.
Our mods
Our team does not only work on the web and the Client, we have also created a lot of other content. Basic content is available for download directly in the Client, the rest can be downloaded here.
Vehicles
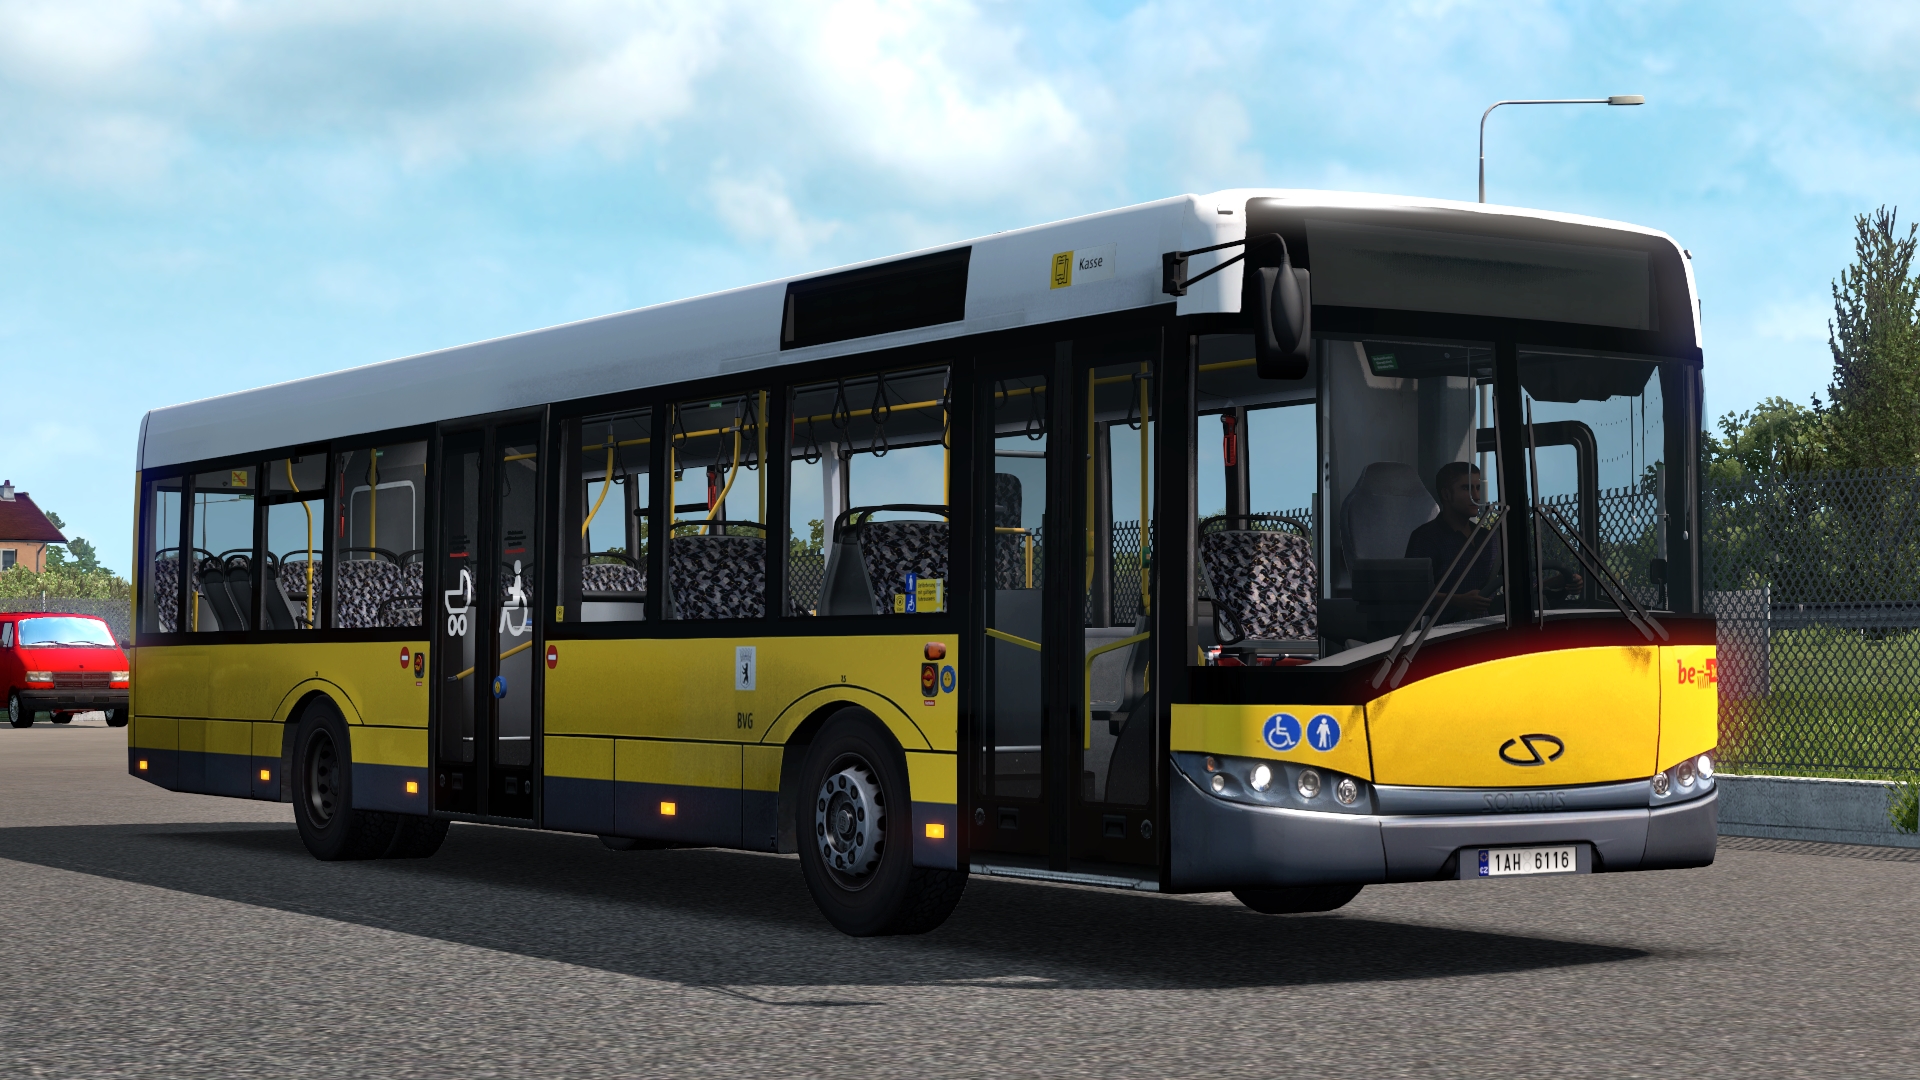
Solaris Urbino 12
This is a fully drivable port of Solaris Urbino III. 12 BVG made by alterr from OMSI2.
 Download
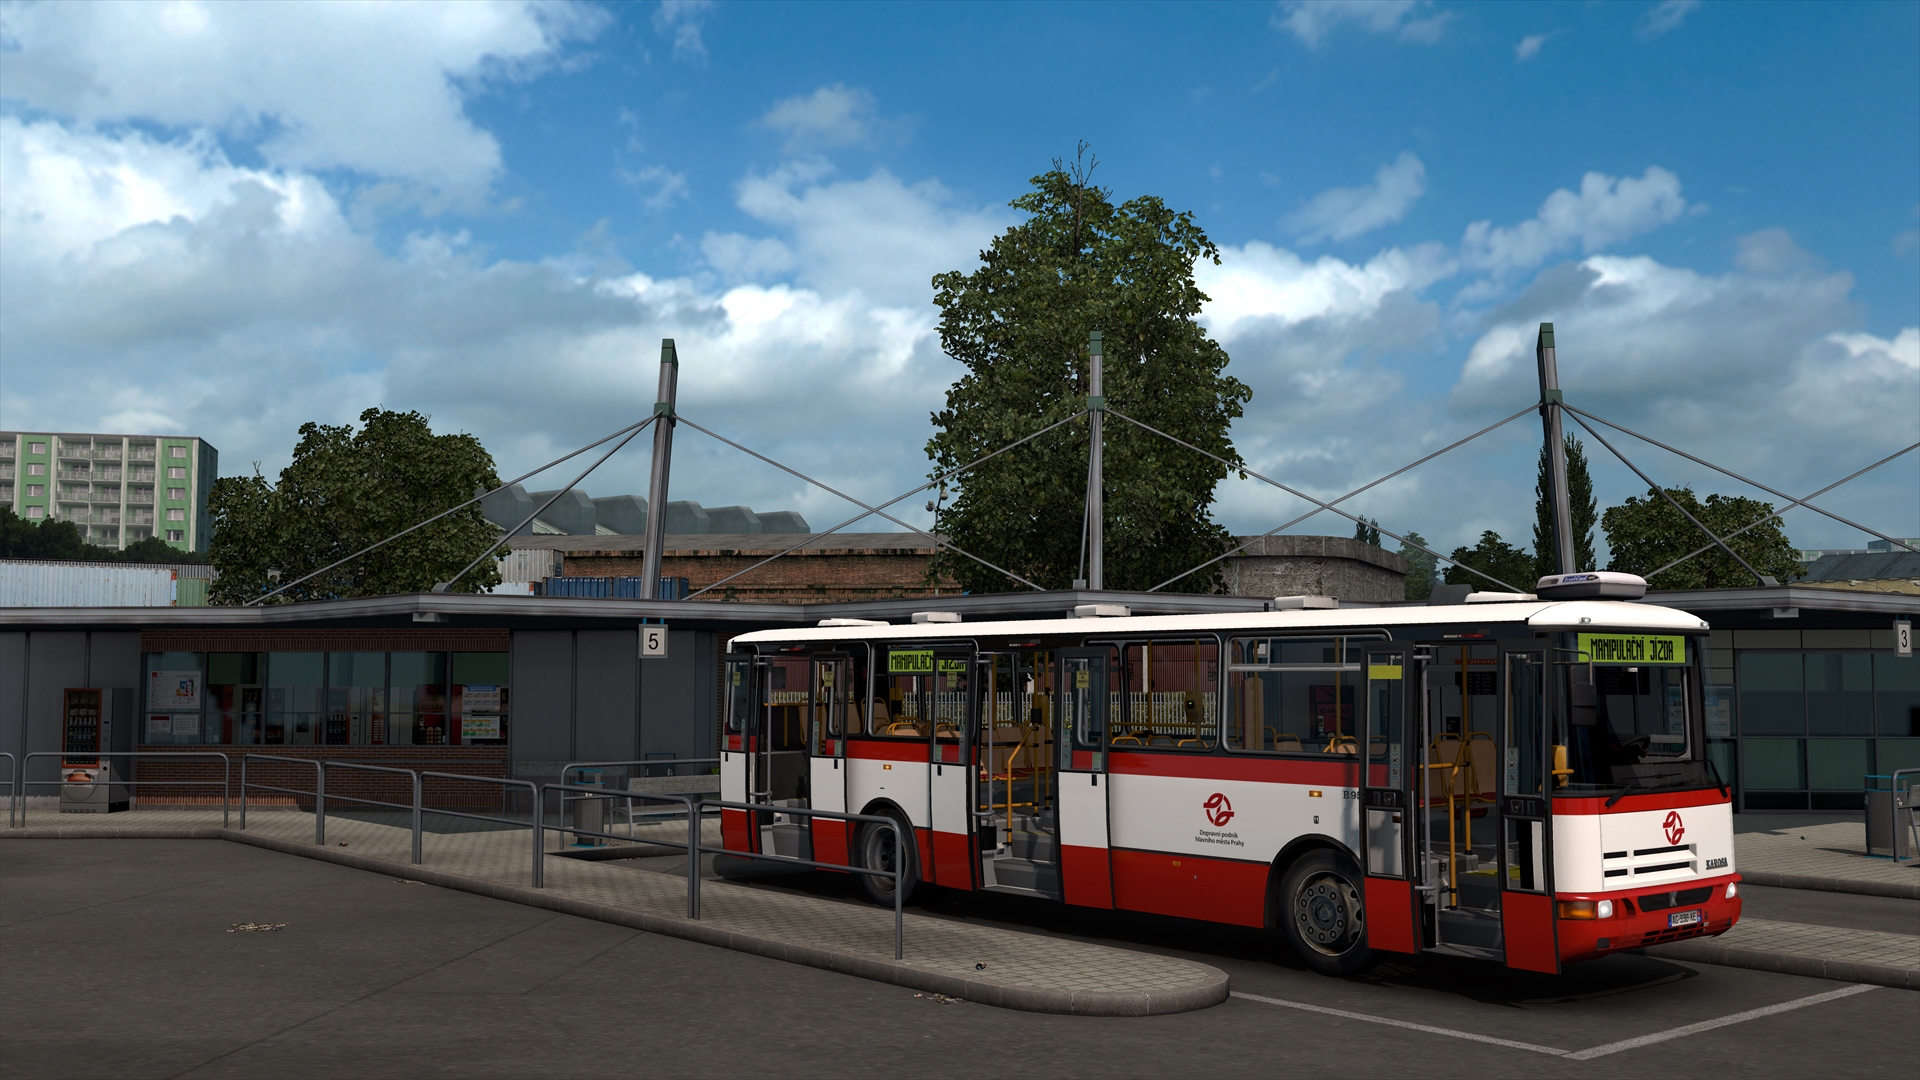
Karosa 95x
This is a fully drivable port of Karosa B951/2(E) and C954(E) made by marty515 and Daniel94 for OMSI2
 Download
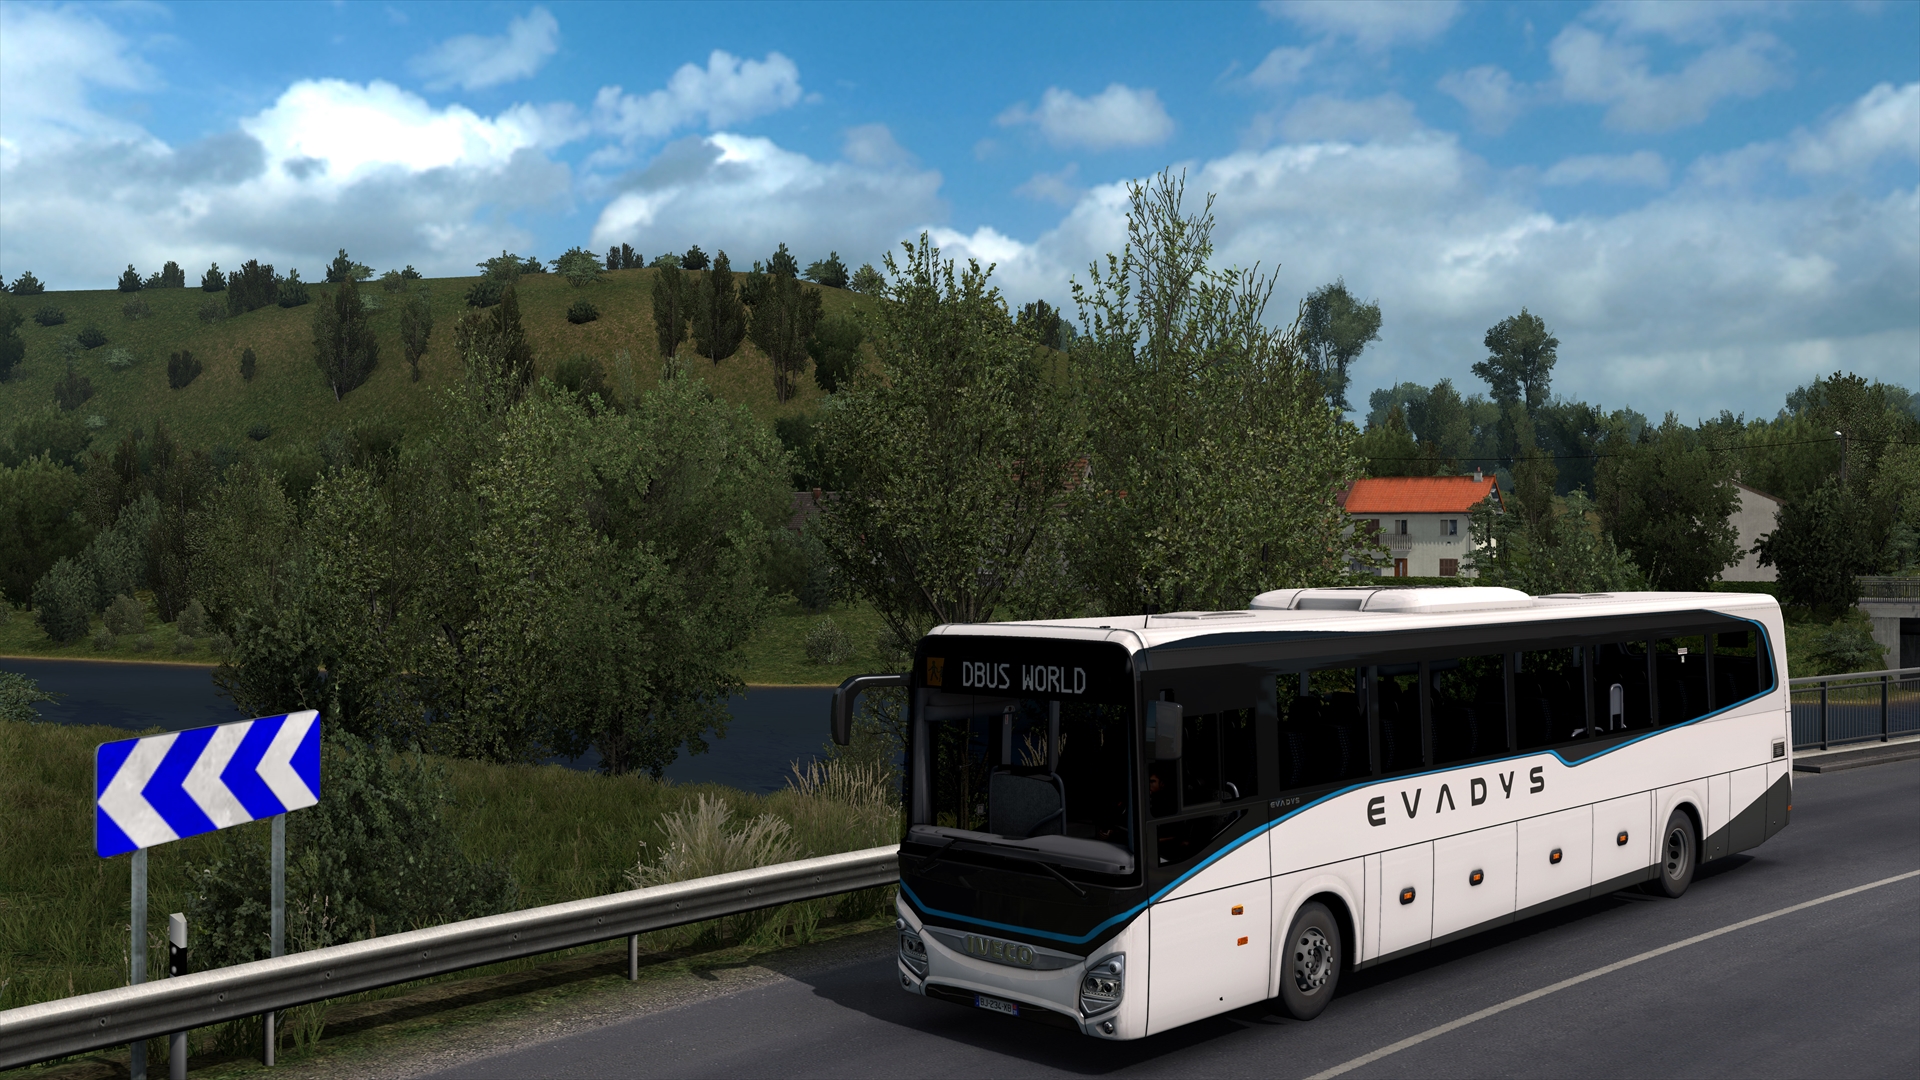
Iveco Evadys
This is a fully drivable port of Iveco Evadys Line Euro 6 made by Kescrole Addons from OMSI2.
 Download
Maps
Frequently asked questions
I'm stuck on Waiting for the server to start, how to fix it?
Close your ETS2, go to the Client settings, force update the telemetry and check if it's physically located in the Steam\steamapps\common\Euro Truck Simulator 2\bin\win_x64\plugins folder. If not, go the the Documents\DBus Client\ and copy-paste manually the contens of either "dbus_****.zip" (**** should be number, like "2001", use file with highest number) to the telemetry folder.
Another common cause is the plugin being disabled in the plugin manager. Launch ETS2, press Delete (by default) and turn DBus on.
Which mods are not compatible with DBus World?
- ETS2 Local Radio
- LogIt
If you use them, you should decide which one to use and remove it.
How to uninstall DBus?
- Sell all our buses.
- Remove Steam Workshop subscription of our buses.
- Remove the dbus_telemetry.dll from Euro Truck Simulator 2/bin/win_x64/plugins
- In case you don't use Harry's plugin manager for other plugins, remove hry_assets, hry_plugins and hry-core.dll.
- In case you don't use any other telemetry, you can delete the whole telemetry folder.
- Uninstall the Client like any other program.
- Remove the DBus Client folder in your Documents.